My first day… Now, I start this by saying straight up, while I am definitely a Windows person and a Windows programmer, this isn’t because I dislike open source or anything like that, merely I enjoy the convenience Windows based systems provide (I am learning now that this is a naive view). I like the fact I can plug a device in via USB and (9 times out of 10 at least) magic happens in the background and drivers are downloaded installed and prest-o, change-o said device works. Every time I have had a run in with Linux it has been a nightmare of compiling drivers, downloading pre-requisites, and fudging things to make it work and many times repeating these same steps on a different computer (even with the same Linux version and distribution) would cause them not to work. That said, I was given this rather charming set up, luckily with Windows 8.1 Professional installed: 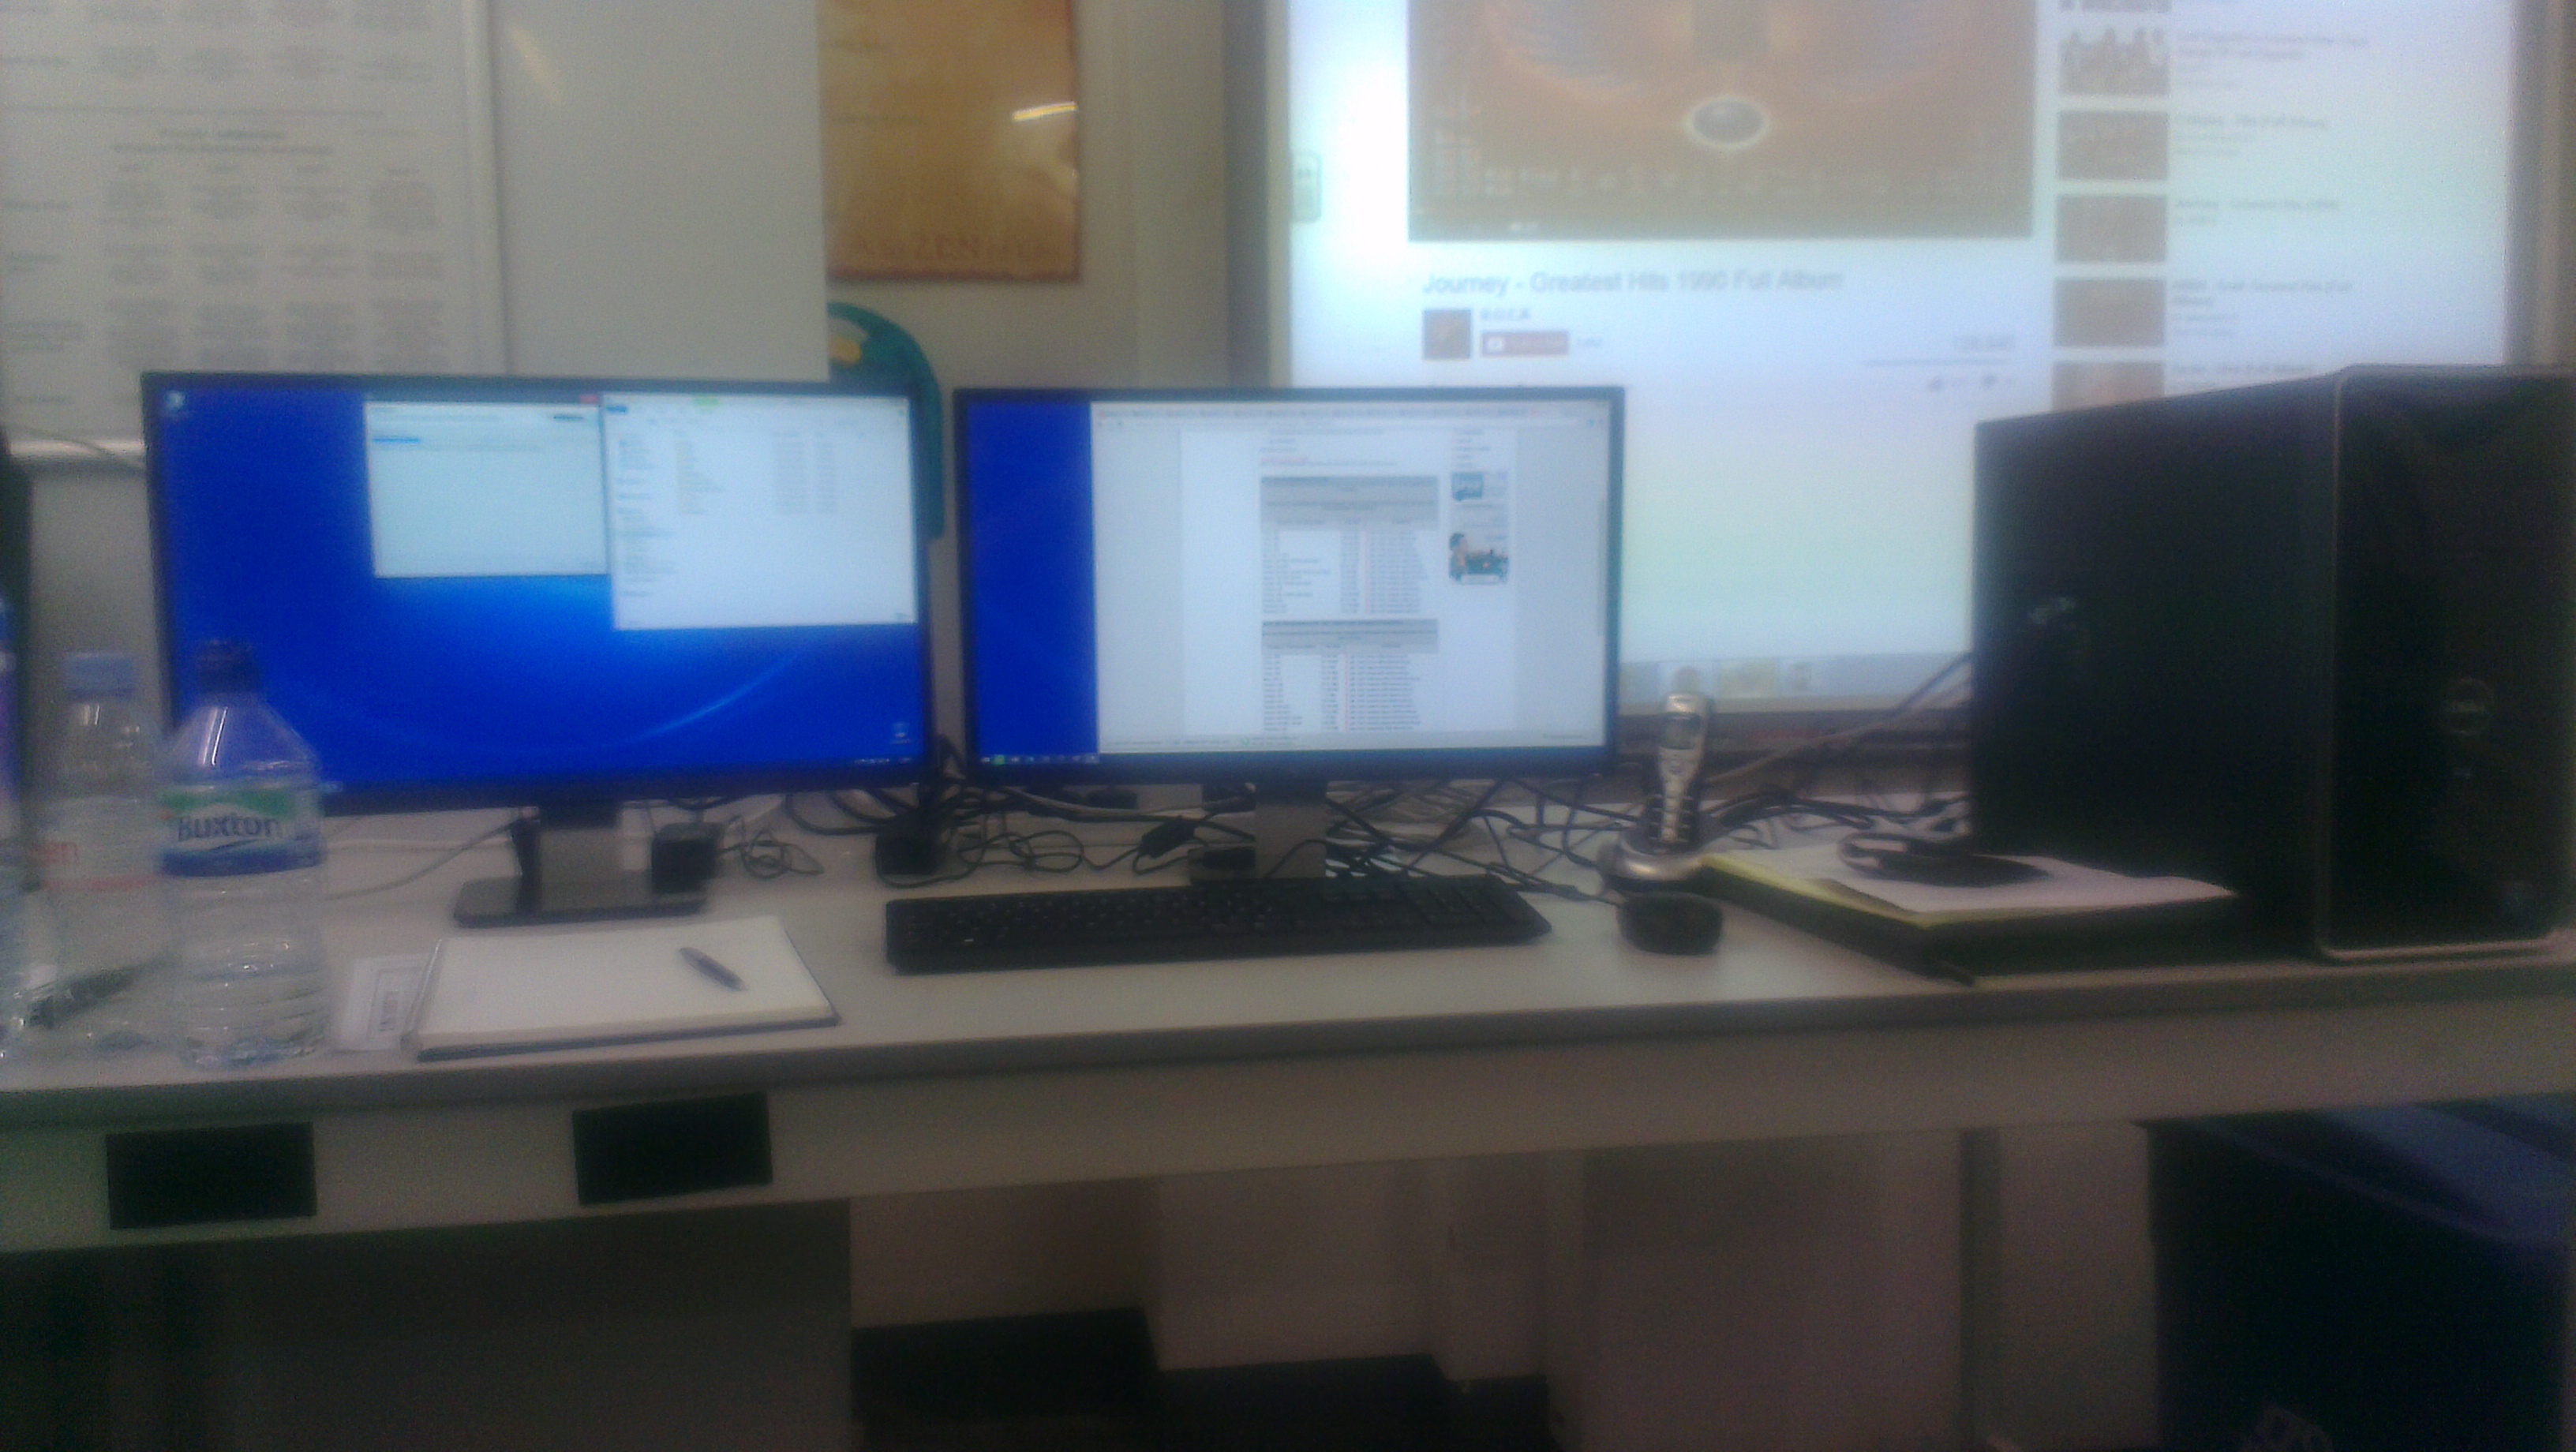 I wanted windows to be my primary operating system so I used VirtualBox to create a Ubuntu Virtual machine. This is a fairly straightforward procedure and one I won’t go into details in here. I will mention however, it is necessary to have a copy of the Ubuntu install iso file that the VM can use. Once “installed” and the virtual machine is running you will likely notice that the resolution is very poor. I am unsure as to why this is the case only that it is. While this is a simple fix, it is something that a novice user may have difficulty with… I know I did!!! So lesson #1: it is often advisable and useful to accomplish commands using the command prompt, referred to as the terminal window. At the top of your VirtualBox window you will see a drop-down menu named “devices”. At the bottom of the drop-down there should be an option called “Insert Guest Additions CD image”. You should be prompted to install guest additions. If you are lucky enough a simple restart of the Virtual Machine should be enough to allow access to additional resolutions. If you are, like me, unlucky you will have to also type into the terminal window, if there is no terminal icon on the left of your screen a shortcut to bring up the terminal is CTRL+ALT+T.
sudo apt-get install virtualbox-guest-dkmsA reset of the virtual machine at this point SHOULD grant you access to additional resolutions. Inadvertently I have stumbled across one of the most useful things about Ubuntu/Linux and at times the most frustrating. Package managers. Bundled with Ubuntu is the Advanced Packaging Tool, (APT) which queries an online repository of source code or pre-compiled programs that are easily retrievable and installs them onto your computer… BUT depending on which version of Linux you are using and whether or not it is x64 or x86 means that the selected packages, be they libraries or programs, may not be installed in the same place which can cause issues. Anyway on to the commands. In this case I have started by typing “sudo” which is essentially Linux speak for “he who shall not be named” the SUPER USER who has root access privileges, essentially can do whatever they want (super user does operations). Depending on what level your user has to the system will depend on what kind of access you will have to edit files/folders, edit system documents etc. **WARNING** you should not just append sudo to the start of any command as this can have some dire consequences, I will discuss some of these at a later date. Next is “apt-get install” this is obviously calling the previously mentioned APT package manager and asking it to install the following package, which in this case is the virtualbox-guest-dkms. Usually if it is the first time in the terminal instance you are using the sudo command you will be prompted to give the user password which is an extra security precaution. NOW you should be ready to change the resolution of your screen to something a bit more manageable… The filesystem for Linux is very different to that of Windows (or at least I think it is!) your terminal will say something like this at startup: username@computername:~$ This indicates that the user of the computer is in the home directory, you can reach here at any time in the future by typing cd ~/ and enter. To get to the root directory type cd / and the lead of the prompt will change to: username@computername:/$ You can simply get a look at everything in your current directory by typing ls and pressing enter, this will give an unordered list of the items in the current directory, typing ls -l will organise the list and make it easier to read. All operations can be achieved through use of the terminal window. Below are some useful commands:
rmdir directorynameThis removes the named directory, passed with the arguments -r will delete all files and subfolders in the directory recursivey: e.g. rmdir -r /bin/temp
mkdir directorynameThis command will make a directory at the specified location: e.g. mkdir temp
cp filefrom filetoThis command copies a file or files from one directory to another, nominate a directory name with the arguments -r to copy all the files and subdirectories: e.g. cp -r /etc/bin/test ~/mount
mv filefrom filetoExecutes in the same way as cp but moves rather than copies the files: e.g. mv -r /etc/bin/test /etc/bin/newfolder