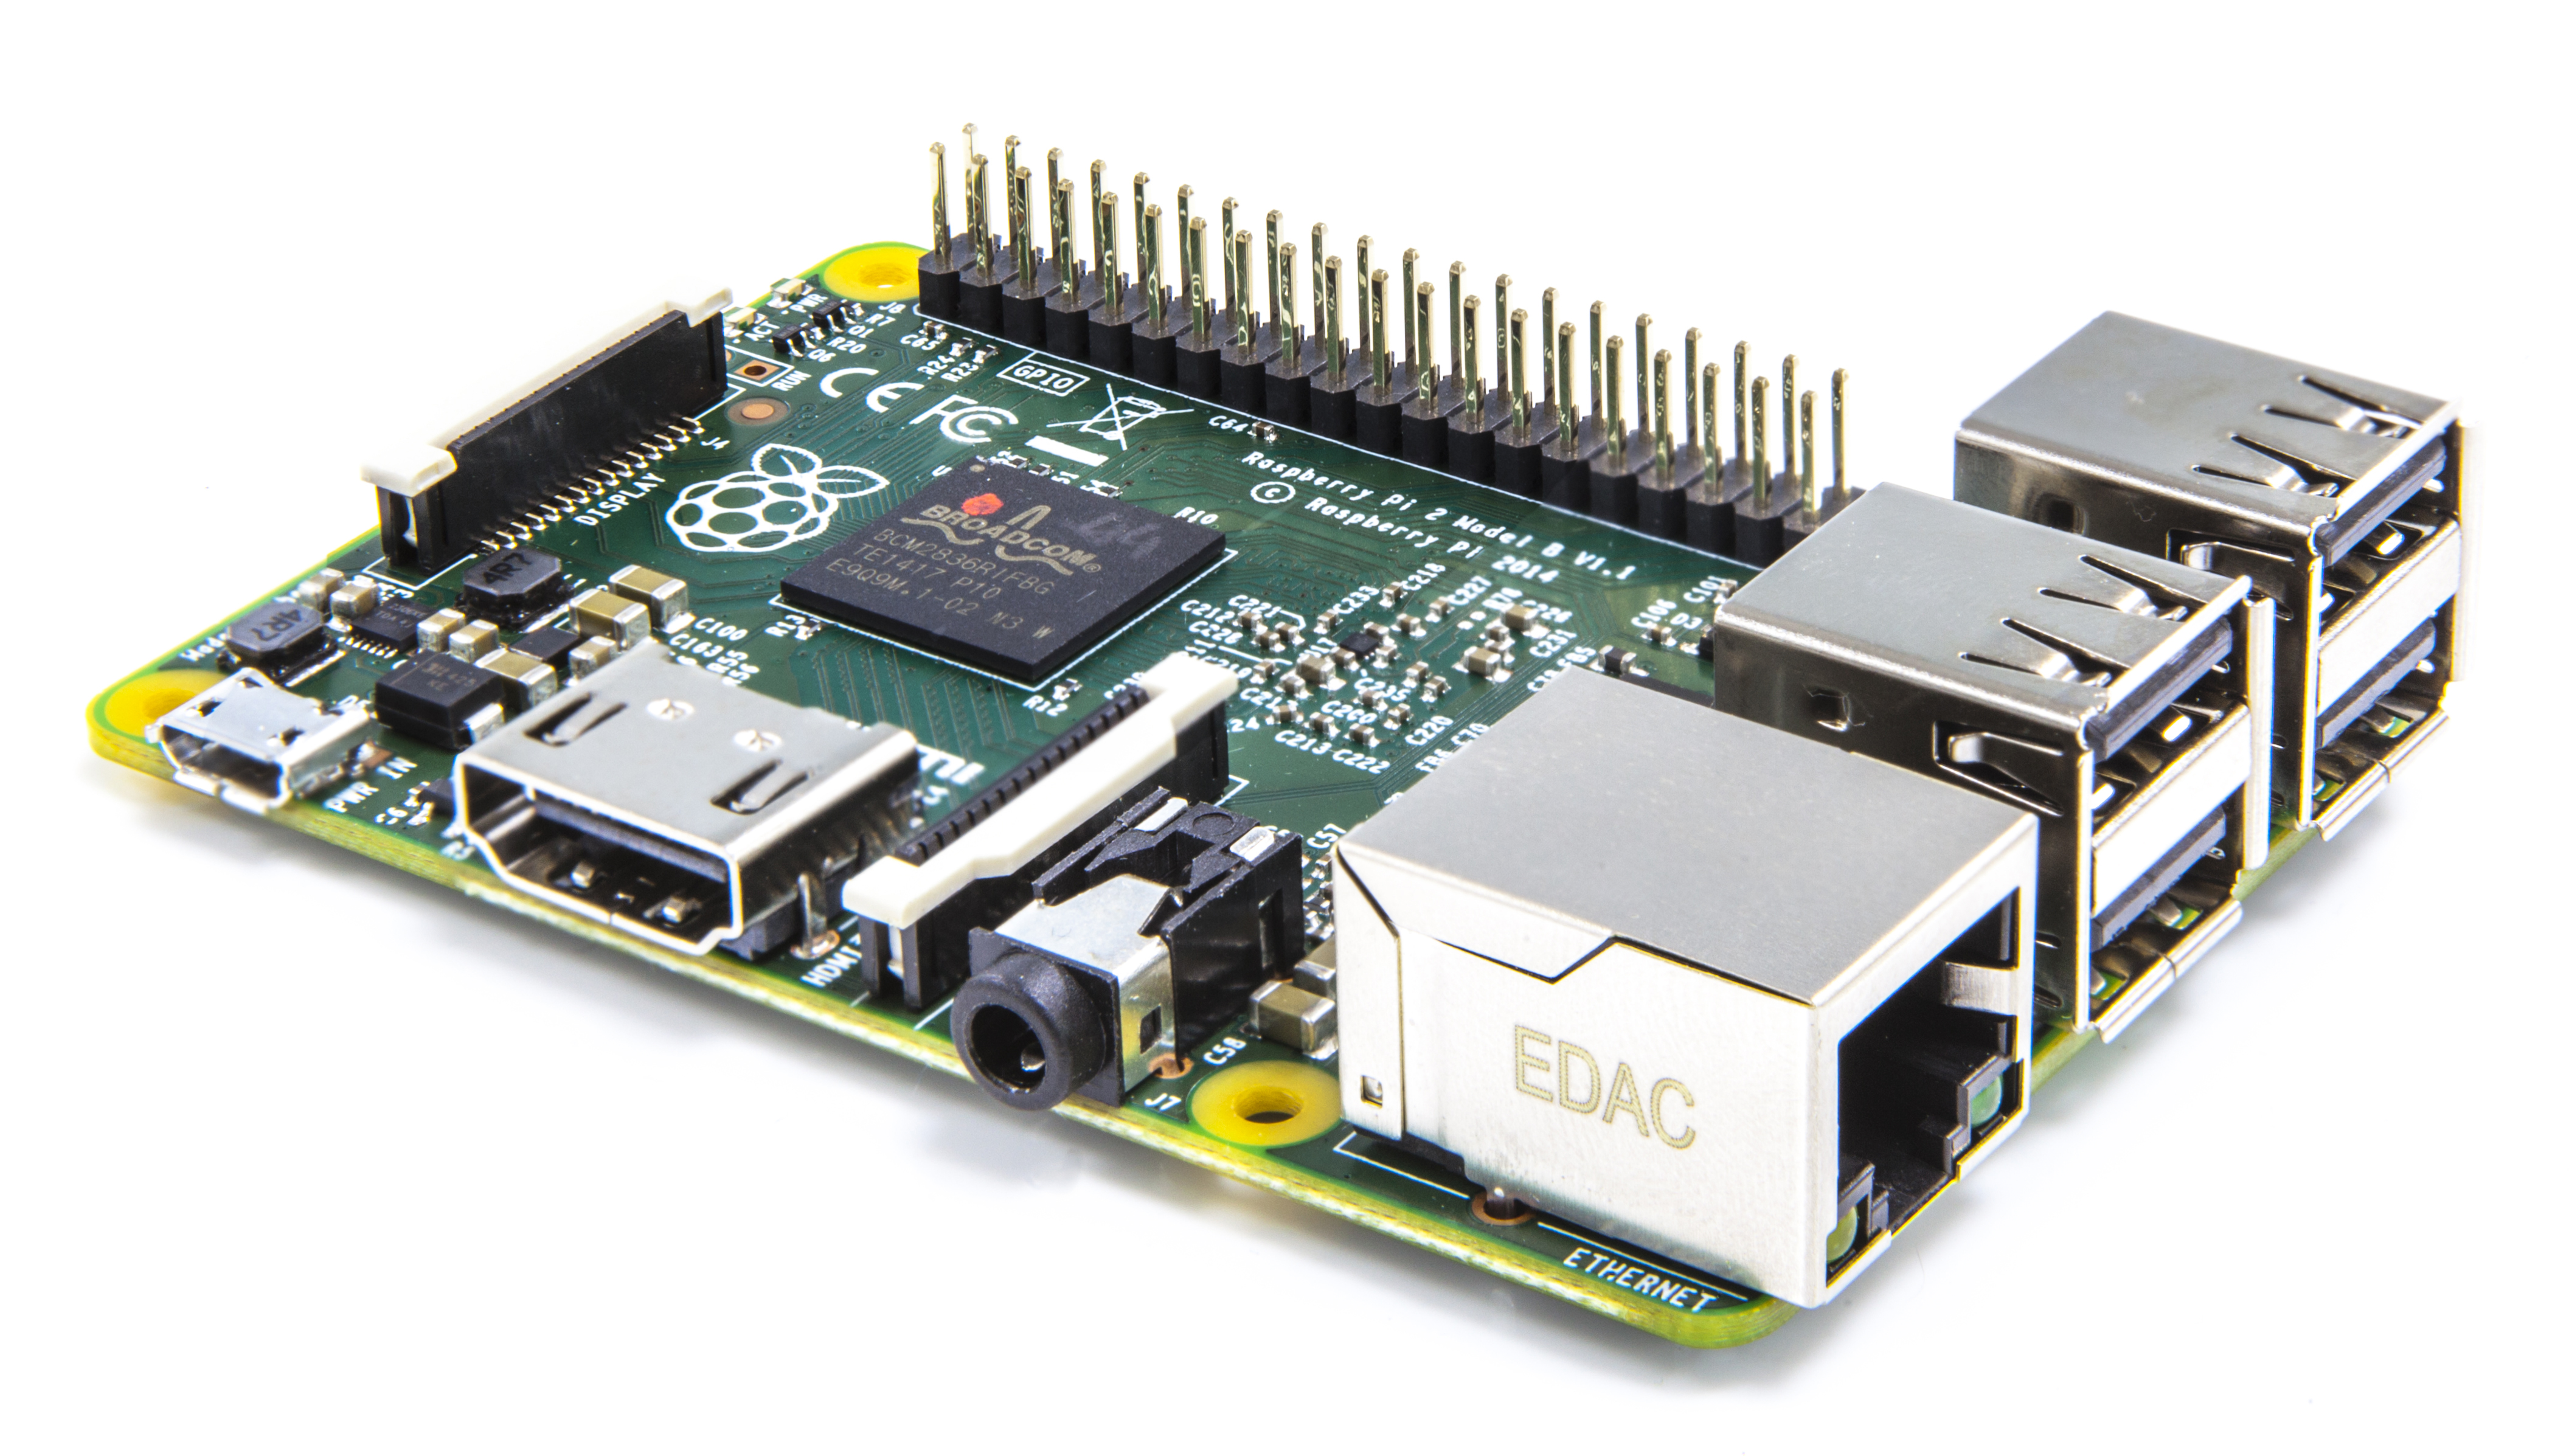
So being new to Linux and somewhat experienced with embedded systems (mostly microcontrollers, specifically Microchip PICs) I thought I would jump on the band wagon and get myself a Raspberry Pi to experiment with. On our projects page there is a link to the Hex-pod robot that was designed a few years ago along with the PlayRobots servo controller. The Raspberry Pi has gained a lot of traction as a development platform, cheap media centre, robot controller… pretty much anything you would want an embedded Linux platform for. As mentioned in the previous entry I was interested in putting together a cheap NAS platform that was expandable and customisable (currently this is planned as a basic file share rather than an all singing all dancing RAID configured beasty). So to the Pi…
What surprised me at first were the capabilities of the new Pi version 2 model B, check out this comparison:
| Model | Processor Speed | Cores | RAM (MB) | Networking |
|---|---|---|---|---|
| Model A | 700MHz | 1 | 256 | None |
| Model B | 700MHz | 1 | 512 | 10/100 Mbit/s Ethernet |
| Model B+ | 700MHz | 1 | 512 | 10/100 Mbit/s Ethernet |
| Gen 2 Model B | 900 MHz | 4 | 1024 | 10/100 Mbit/s Ethernet |
The increase from a single core 700MHz processor to a Quad-core 900MHz beast is impressive by itself but combine with double the RAM the Raspberry Pi 2 model B is a serious unit. So to the fun stuff… As I mentioned I was after a cheap solution to be able to access my various media, movies, music, pictures etc from anywhere in my house (most likely from other ‘Pi’s).
The main thing you need is the pi (obviously), many vendors sell them on Amazon at the moment, I bought this one and a power supply (a micro usb phone charger does work but should really be over 1A capable). Additionally I bought a 2TB Western Digital Green hard drive and a USB enclosure, all of which I have been pretty impressed with and will be buying again. You will need a keyboard, mouse and monitor to do the initial configuration (I had these lying around but low cost options are available on the internet) and some way of connecting to the internet. For internet connectivity, while a wireless USB dongle does work in experience I have found this to be an unreliable method of streaming, based on this I would suggest a wired ethernet connection.
The first thing you want to do is download the Raspbian image using this link: >> Raspberry Pi Downloads <<
Once you have the image downloaded you need to copy it to a micro SD card, this is simply done using the following command from the terminal:
sudo dd if=/path/to/image/file of=/dev/node
This will copy the “records” of the image to the sd card and make it ready for the Pi. When you plug the Pi in you will need to log in using the username ‘pi’ and password ‘raspberry’. The command:
startx
Will load the desktop if you feel more comfortable in a GUI environment.
Now you have a fully functioning Linux computer, it is time to turn it into a NAS!
- Firstly you need to update the apt repositories and install some packages needed for connectivity:
sudo apt-get update
sudo apt-get install ntfs-3g
sudo apt-get install samba samba-common-bin
sudo apt-get update
- You can now connect your external hard drive via one of the spare USB ports on the Pi, this will likely automatically mount to a path in /media. Examine the /dev/ folder and look for a new entry, this will likely be sdb1 (sdb is the device node and partition 1, if you have a hard drive with multiple partitions this will show up as sdb1 sdb 2 etc). Normally on a Linux system the easiest way to examine what disks are attached is to use the fdisk utility, I haven’t suggested the use of this as it didn’t work on my pi with my hard drive.
- Now would be a good time to make a directory you would like the drive to be normally mounted to (the default mount points can change which make it difficult to pin down, forcing it to mount to a specific place gets around this, something like:
sudo mkdir /media/NASDrive/shared
- Now edit your fstab file in /etc/ with your editor of choice:
sudo nano /etc/fstab
- And you need to add the following line. The first argument is the device node wishing to be mounted, the second is the location which it will be mounted, the third is the filesystem type (this can vary but being a windows user I tend to format large disks as NTFS).
/dev/drivenode /media/NASDrive ntfs 0 0 0
- Now the main points are in place we need to configure samba (the thing that actually makes the network share). We start by editing the samba .conf file located at /etc/samba/smb.conf
sudo nano /etc/samba/smb.conf
This is a pretty long file but you need to find a couple of things in it for use (gedit is a good editor for this sort of thing for the search functions). So under the Authentication header, remove the hash (#) before
security = user
Under the “Share Definitions header change read only = yes to no
read only = no
And finally at the very bottom of the file add the following:
[Media]
comment = Shared Media
path = /media/NASDrive
valid users = @users
create mask = 0660
directory mask = 0771
read only = no
These are fairly standard options and provide general use, but you can customise it to suite you and add additional folders/shares for other hard drives as required.
- Finally there are just three more commands that are needed, firstly add a new user and password to Linux then add the new user to Samba:
sudo useradd newusername -m -G
sudo passwd newuserpassword
sudo smbpasswd -a newusername
After this last command you will be prompted to enter the password for the new user as well.
- Finally finally, hit this:
sudo reboot
The Pi will reboot and from another computer you should be able to view and access it by browsing your network. Trying to access it will prompt you for your username and password, this will be for the user you created previously. Existing files should be viewable and editable. Personal experience I have managed to simultaneously stream three movies one to a ethernet connected computer and two wirelessly around my house without issue or breaks. The only thing I have encountered so far was streaming a 3 gig movie file had to buffer a little bit in the first few minutes but then played without issue. I am planning on expanding this to 3 external Hard drives with different media and a software RAID options.. stay tuned!
*A great place to check out which gave me some good stuff for this post: Tinker Nut